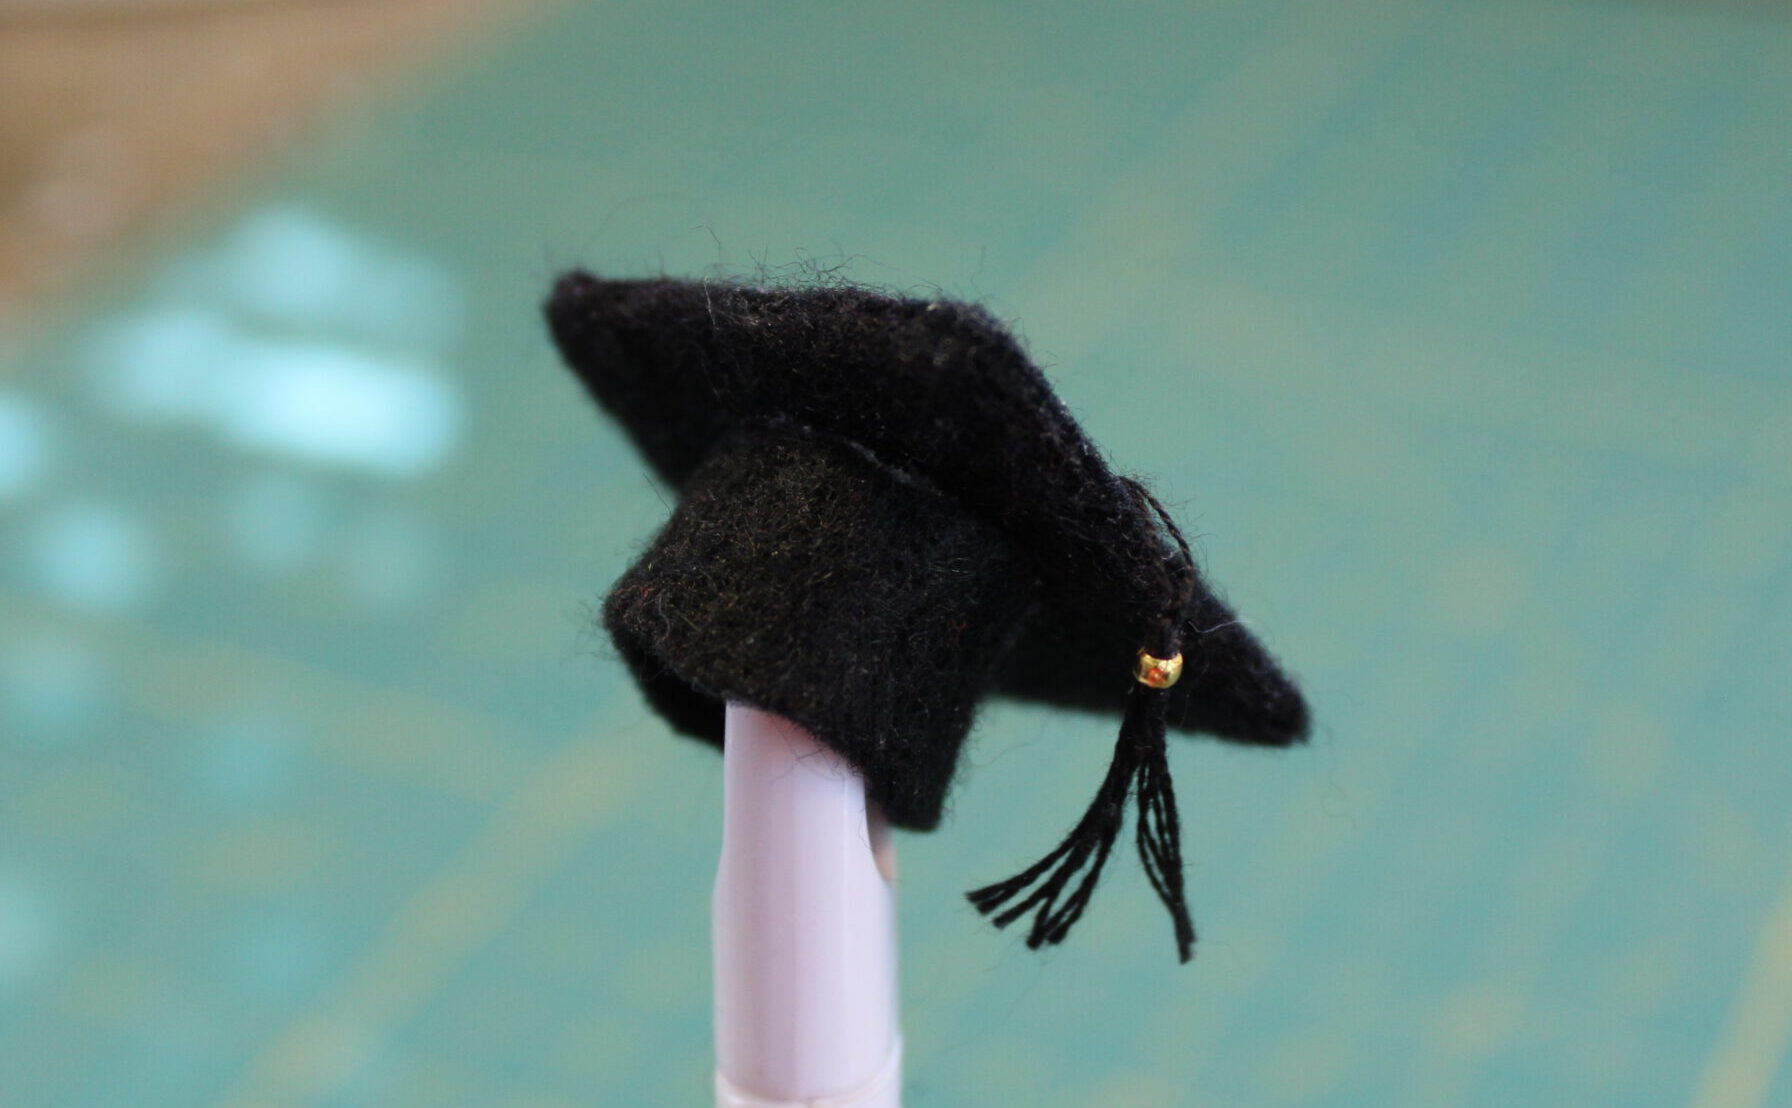
This hat is easy to make and takes only a few materials. The cap is in 1:12 scale and is made of felt to look like wool. The board on this graduation cap is sized to replicate a 12 inch board in real life, which is a bit larger than most caps sold today. Instructions for a matching tassel can be found in the “Easy Miniature Graduation Tassel post. If Barbie is graduating, double all the dimensions to create one in 1:6 scale.
You will need these materials and tools:
- black felt
- Aleene’s Felt and Foam glue, or other glue
- straight pin
- thin cardboard, the type from a cereal box
- black permanent marker
- ruler
- craft knife, scissors or rotary cutter to cut cardboard

Cut the cardboard into a 1 inch square. This will make a cap with a board that would be 12 inches wide in real life. If you would like a smaller board, for a replica of a 9 inch wide hat, cut the cardboard into a 3/4 inch square.

Color the edges of the cardboard with a black permanent marker. This will prevent seeing the color of the cardboard if you have any gaps in the covering.
Poke a hole in the center of the cardboard large enough for a straight pin to pass through. You can use your straight pin to make the hole, however, using a sharp tool will make the job easier.

Cut two squares of felt slightly larger than the cardboard square.

Put a thin layer of glue on one side of the cardboard and center it on one of the felt squares, glue side down.
Apply glue to the other side of the cardboard and to the exposed strip of felt around the edge.

Place the other square of felt on top of the cardboard and felt, pressing all around the edges to make sure it is secure.
Aleene’s Felt and Foam glue provides instant grab and good adhesion. If you use a different glue, you may need to wait for the glue to dry before proceeding.

Color the head and upper part of the straight pin using the permanent marker. The pin is not colored yet in this photo so it would be easier to see.
Push the straight pin through all layers of felt and cardboard using the hole you made earlier.

Place the cord of the tassel under the head of the pin. Add a small dab of glue around the pin under the head so the glue is hidden.
You can make and attach the tassel as a last step. It will be a bit more difficult to trim the pin, and you will need to be careful working around the pin.

Trim the pin from the underside of the board. Note: It is probably a good idea to wear safety glasses while doing so. When I clipped the pin it shot into the air like a rocket, bounced off my ten foot high ceiling, and landed in my hair!

Cut a strip of felt 1/2 inch wide by 2 1/2 inches long.

Trim triangles from each end of the strip. This will give the cap a flare when the ends of the strip are brought together.
Trim eyebrow-shaped pieces as shown to create a point in the strip.

Apply glue to one end of the strip.

Bring the ends of the strip together to create a ring. Press the ends together with your fingers and allow the glue to dry.

Apply glue to the edge without the point.

Glue the ring of felt to the board, lining the point up with a corner of the board.

The finished cap.
Who did you make a cap for?

